
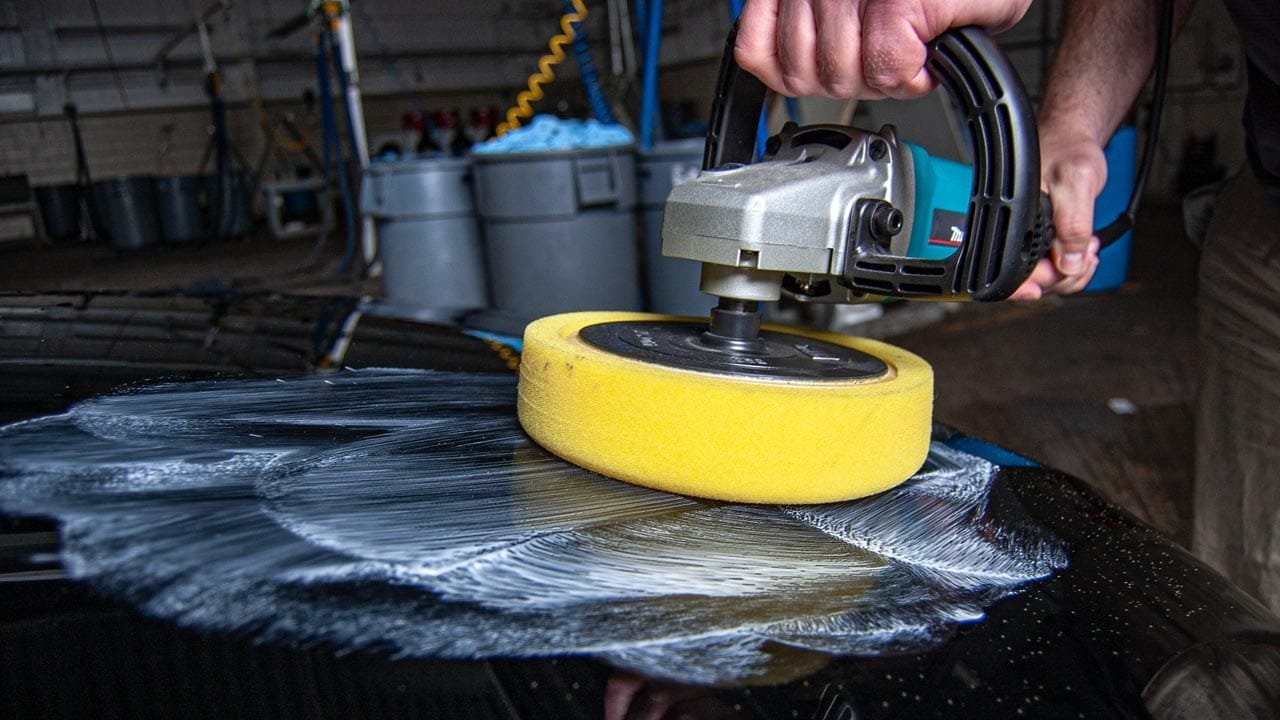
You apply cleaner wax to a car by hand or with a dual-action polisher, working in small sections to remove light oxidation while adding a protective layer of wax in one go. You typically need about 30 to 60 minutes to complete a standard sedan, depending on the condition of the paint and your experience level. This method is best for daily drivers with minor paint dullness that need a quick, all-in-one maintenance solution rather than deep paint correction.
Tools and Materials for Paint Care
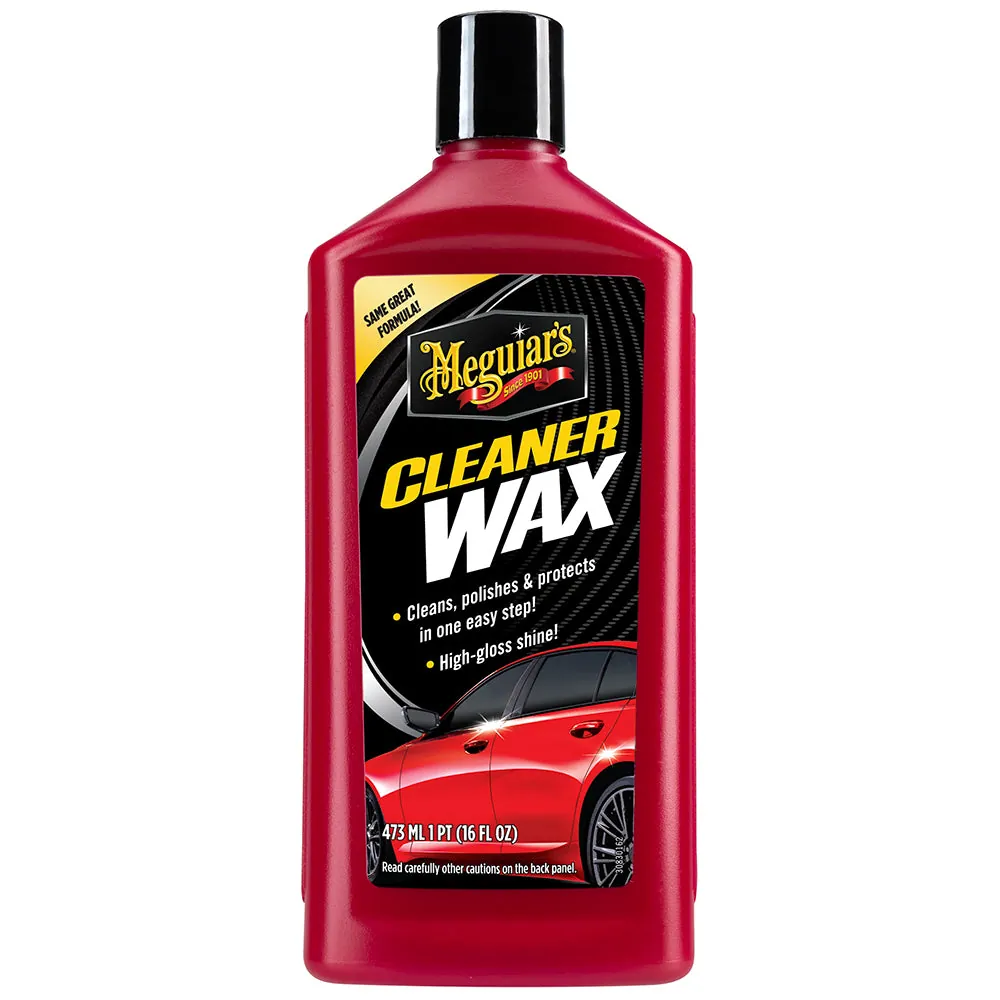
To start this process, you must have the right equipment on hand to ensure you don’t scratch your clear coat. Using the wrong tools often leads to swirl marks that are difficult to remove later.
- Cleaner Wax: A high-quality liquid or paste product designed to clean and protect.
- Microfiber Towels: At least 4-6 clean, plush towels for removing the residue.
- Foam Applicator Pads: Use soft, circular foam pads if you’re applying by hand.
- Dual-Action Polisher: Optional, but useful for larger vehicles or faster results.
- Car Wash Supplies: A bucket, car-specific soap, and a wash mitt to clean the surface first.
- Painter’s Tape: Use this to cover plastic or rubber trim to prevent white wax stains.
If you don’t have a dedicated car wash soap, use a mild dish soap only once to strip old wax, but avoid this for regular maintenance as it can dry out rubber seals. If you’re unsure about the chemical compatibility of your wax with your specific paint type, consult the vehicle owner’s manual for manufacturer-recommended cleaning procedures.
When choosing towels, perform the “CD test.” Rub the microfiber against the back of an old compact disc; if it leaves fine scratches, the towel is too abrasive for your clear coat. Always store these cloths in a sealed plastic bin to prevent them from picking up airborne grit. A single grain of sand trapped in a towel acts like sandpaper against your finish.
Apply the wax using overlapping circular motions to ensure even coverage. This technique creates concentrated friction that encourages swirl patterns. If you hit a scratch or a deep oxidation spot, you should switch to a dedicated polishing compound before waxing. Wax fills minor imperfections, but it can’t level them out.
If your vehicle has matte or satin paint, ignore standard cleaner waxes entirely. These products contain fillers and oils that will permanently ruin the flat finish by creating uneven glossy patches. For matte surfaces, use only products specifically labeled for satin or flat clear coats.
When masking trim, use automotive-grade painter’s tape rather than standard masking tape. Standard tape leaves behind a sticky adhesive residue that’s nearly impossible to remove from textured plastic without leaving a permanent white mark. If you find wax residue on trim, use a soft-bristled toothbrush and a drop of interior trim cleaner to gently lift the stain immediately.
Steps to Use Cleaner Wax on Your Car
- Wash and dry your car completely. Any dirt left on the paint will act like sandpaper when you rub the wax in, causing scratches.
- Apply a quarter-sized amount of cleaner wax to your foam applicator pad. If using a polisher, place the wax directly on the pad, not the paint.
- Work in a 2-foot by 2-foot section at a time. Apply the wax using overlapping circular motions to ensure you cover every inch of the panel.
- Let the wax haze over until it looks dry and dull. This usually takes 5 to 10 minutes, depending on the air temperature and humidity.
- Wipe away the haze with a clean, dry microfiber towel. Fold the towel into quarters and use light pressure to reveal the shine.
- Rotate to a clean side of the towel frequently. If the towel becomes loaded with wax residue, it will start to smear rather than buff.
- Inspect the panel under bright light to ensure no streaks remain. If you see spots, buff them again with a fresh towel.
Tip: Work in the shade. If the paint is hot to the touch, the wax will dry too quickly and become impossible to remove evenly. Careful: Don’t apply cleaner wax to textured plastic trim, as it will leave a permanent white residue.
Situations That Change Your Time and Effort
The amount of effort required changes based on the size of your vehicle and the current state of the paint. Starting with a smaller area helps you gauge how much pressure is needed before you commit to the entire body.
| Situation | Time Required | Effort Level | What to Watch |
|---|---|---|---|
| Compact Car | 30-45 mins | Low | Edge detail |
| Large SUV | 60-90 mins | High | Upper panels |
| Heavy Oxidation | 2+ hours | Very High | Uniform coverage |
| New Paint | 30 mins | Minimal | Even application |
If you’re working on a vehicle with heavy oxidation, avoid the mistake of using a high-speed buffer immediately. This often creates “burn-through” marks on edges where the clear coat is thinnest. Instead, start with a manual applicator pad to test how quickly the oxidation lifts.
For large SUVs, the primary challenge is the height of the roof and hood. Most people rush these areas, leading to uneven drying and streaks. Apply your product in two-foot sections, working from the top down to prevent gravity from pulling excess residue onto finished panels.
If your paint is less than six months old, skip heavy abrasive compounds entirely. Use a light polish or a pure wax to protect the finish without thinning the factory clear coat. If you see swirls after the first pass, you’re using too much pressure. Lighten your grip until the applicator glides across the surface without resistance.
How to Judge Your Results
A good result shows a deep, uniform gloss across the entire panel with no visible streaks or “holidays”—areas you missed. If the finish looks cloudy or feels tacky to the touch, you likely applied the product too thick or failed to let it haze properly before buffing.
This happens because the cleaning agents need time to break down surface grime, and the wax needs to bond to the paint. You can prevent this by using thinner coats and waiting for the full haze cycle.
Test your work by performing a swipe test with a clean microfiber towel. If the product clears away instantly to reveal a crisp, glass-like reflection, the curing process is complete. If you see smearing or a ghosting effect trailing behind your finger, stop immediately. You have applied too much product, and the excess oils are trapped against the clear coat.
Most beginners make the mistake of using a circular motion during the final buffing stage. This creates uneven pressure and encourages swirl marks. Instead, use long, straight-line passes to ensure the fibers lift the residue rather than grinding it back into the paint.
If your environment is above 85 degrees Fahrenheit, cut your working area in half. High heat causes the solvents to evaporate prematurely, leaving behind a stubborn, hardened layer that requires a secondary chemical cleaner to remove.
Rules and Maintenance Standards
The main rule for paint maintenance is to keep the surface free of environmental contaminants to prevent long-term damage. After you finish, store your applicator pads in a sealed bag to keep them clean for the next use.
You should reapply cleaner wax every 3 to 4 months to maintain the protective barrier. If you notice water beading stops or the surface feels tacky to the touch, apply a fresh coat immediately regardless of the calendar date. This prevents oxidation from taking hold in the microscopic pores of the clear coat.
If you’re working on a classic car with single-stage paint, seek professional advice. Modern cleaners often contain heavy abrasives or high solvent loads that can be too aggressive for older, thinner finishes. You can distinguish single-stage paint by checking your applicator pad after a light polish; if the pad shows the color of the car, you have single-stage paint.
Most enthusiasts make the mistake of using dish soap for routine washes. This strips away wax layers, leaving the paint vulnerable to UV damage and acid rain. Always use a dedicated automotive shampoo with a neutral pH to extend the life of your protective wax.
Alternative Cleaning Methods
Clay Bar Treatment
Use a clay bar before waxing if the paint feels rough to the touch. This removes embedded contaminants that cleaner wax can’t lift, resulting in a much smoother finish, though it adds significant time to the process.
Dedicated Paint Polish
If your car has deep swirl marks or heavy oxidation, use a dedicated polish instead of a cleaner wax. Polish removes a tiny layer of clear coat to level the surface, which is a more aggressive step.
Spray-On Sealants
For quick maintenance between full wax jobs, use a spray-on sealant. These are faster to apply than traditional waxes, though they offer less cleaning power and usually have a shorter lifespan on the paint.
Frequently asked questions
How often should I wax my car?
You should wax your car every 3 to 4 months to keep the protective layer intact against UV rays and road grime. If you park your vehicle outside in harsh sun or heavy rain, you may need to apply it more often to ensure the paint stays shielded.
Can I apply wax over old wax?
Yes, you can apply new wax over old wax, but the cleaner wax will remove the old layer first. This is actually a benefit because it strips away the degraded product before laying down a fresh, clean coat.
Is it safe to use on plastic trim?
No, it isn’t safe to use on textured plastic, as it will leave white, chalky marks that are hard to remove. Always use painter’s tape to mask off plastic trim, rubber seals, and badges before you begin the process.
What happens if the wax dries too hard?
If the wax dries too hard, it becomes difficult to buff off without applying too much pressure. You can fix this by lightly misting the surface with a quick detailer spray to soften the residue before wiping it away with a clean towel.
How long does a bottle of wax last?
A standard 16-ounce bottle usually lasts for 8 to 10 full applications on a typical sedan. The exact number depends on how thick you apply the product; always remember that a thin, even layer provides better protection than a thick, uneven one.
Conclusion
Once you’ve buffed away the haze, step back and enjoy the fresh shine. Your paint will look much brighter, but remember that this protection won’t last forever. You’ll want to wash your car regularly with a gentle soap to keep that finish glowing until it’s time for another round of care.