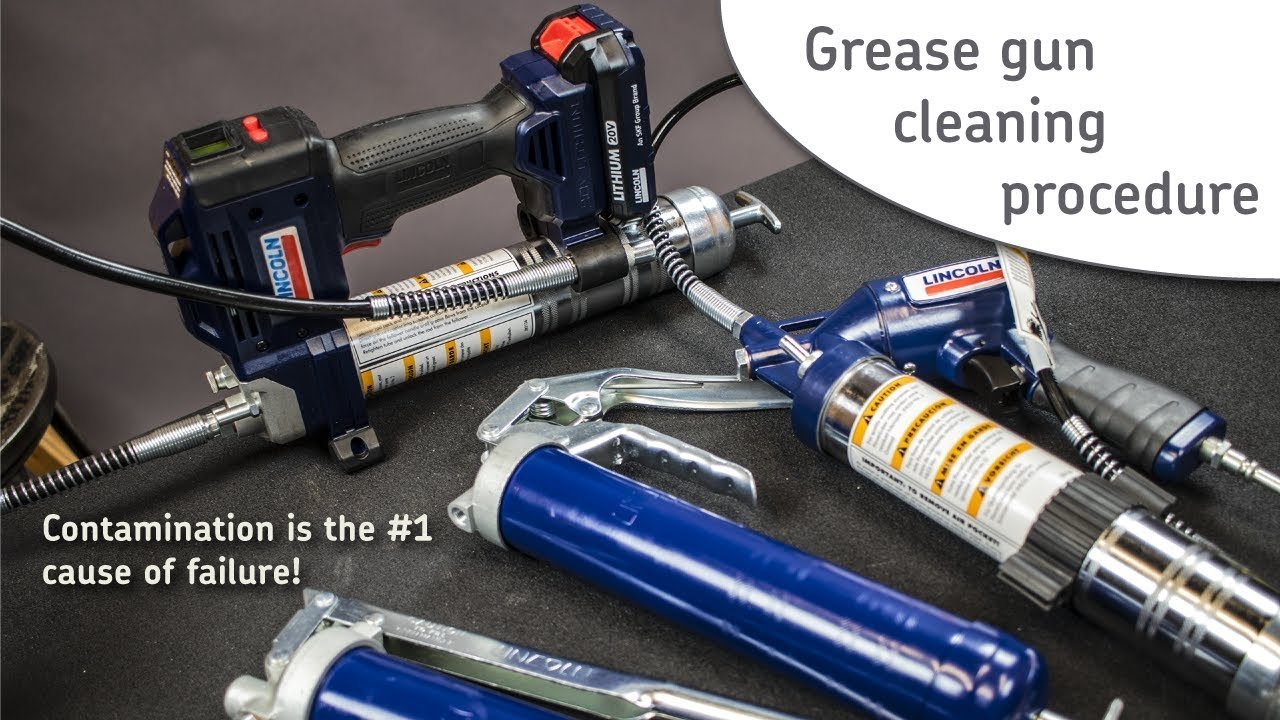
You can clean a grease gun by wiping away exterior grime and flushing the internal cylinder with a lint-free rag to remove old lubricant. This medium-difficulty task requires basic hand tools and patience to avoid damaging internal seals. Always consult your manufacturer’s user manual or the official product support page for specific disassembly steps.
Supplies to clean your grease gun
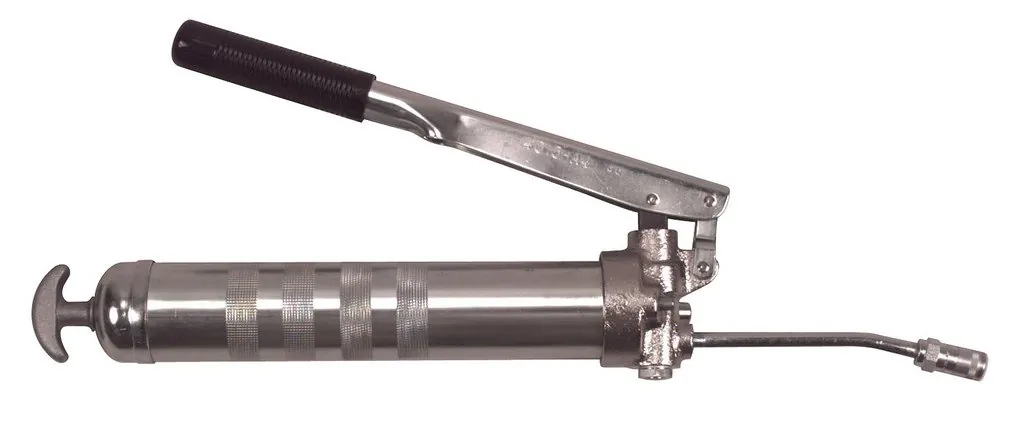
You need these items to perform the cleaning process safely and effectively. Keep them organized on a flat, stable surface before you begin the work.
| Item | How much | Why it’s needed | A substitute |
|---|---|---|---|
| Lint-free rags | 3-5 pieces | To wipe internal parts | Paper towels |
| Solvent cleaner | 100-200 ml | To dissolve old grease | None — don’t swap this |
| Screwdriver set | 1 full set | To remove fittings | None — don’t swap this |
| Nitrile gloves | 1 pair | To protect your skin | Latex gloves |
| Small brush | 1 unit | To scrub tight crevices | Old toothbrush |
| Safety glasses | 1 pair | To shield your eyes | Protective goggles |
If your screwdriver set lacks magnetic tips, place a small piece of double-sided tape on the handle to catch tiny screws. Losing a single fastener inside the casing forces a complete disassembly, which often doubles your total project time.
If you’re working in a poorly ventilated area, upgrade your eye protection to a full-face shield to prevent solvent splashes from reaching your skin.
Preparation before you start
Release all internal pressure by pulling the plunger handle back to the locked position and opening the air bleeder valve if your model has one. If the handle resists, don’t force it; instead, cycle the trigger once to clear a potential air lock.
Place your grease gun on a drip tray or a thick layer of cardboard to prevent oil stains on your workbench. A simple sheet of newspaper is insufficient, as the heavy base oil in synthetic lubricants will seep through within minutes.
Wear your safety glasses and gloves, as old grease often hides metal shavings or debris that can cut your hands. If you find metallic grit in the old grease, assume the bearing or joint you serviced is failing and schedule a replacement.
Remove the grease cartridge or bulk grease from the cylinder before you begin the deep cleaning process to avoid a messy workspace. Use a plastic putty knife to scrape the inner walls, as metal tools can score the cylinder and ruin the vacuum seal.
If the plunger seal is cracked or the spring feels weak, stop the process and order factory-certified replacement parts. Attempting to repair these components with tape or glue creates a high risk of pressure failure during operation.
Steps to clean your tool
- Unscrew the head assembly from the grease cylinder by turning it counter-clockwise using a firm, steady grip.
- Pull the plunger rod out of the cylinder completely to expose the interior walls, ensuring you don’t bend the rod during removal.
- Apply 50 ml of solvent to a clean rag and wipe the inside of the cylinder until the metal surface looks clean and shiny.
- Use the small brush dipped in solvent to scrub the threads on both the head assembly and the cylinder to remove grit.
- Wipe the plunger head with a clean, dry rag to remove all traces of old, discolored grease that might contaminate your new supply.
- Inspect the rubber O-rings on the plunger for any signs of dry rot or splitting; if they aren’t smooth, replace them immediately.
- Allow all parts to air dry for 15 minutes before reassembling, as any remaining solvent can break down the new grease you add later.
- Apply a very light coat of fresh grease to the threads to ensure the head assembly screws back on smoothly without binding.
- Reassemble the unit by sliding the plunger back into the cylinder and tightening the head assembly until it’s snug but not overtightened.
How to verify cleaning success
The primary sign of a successful cleaning is that the plunger rod moves smoothly through the cylinder without any resistance or grinding sounds. If you feel any sticking points, it usually means there’s still hardened grease or debris trapped near the base of the cylinder. You should perform a “dry cycle” by pushing the plunger all the way in and pulling it out three times. If it glides easily, the tool is ready for service.
If the plunger feels tight or requires significant force to move, you must disassemble it again and re-wipe the cylinder walls. A clean tool should have no visible dark residue on the rag after a final wipe. If the metal surface inside the cylinder shows deep scratches or pitting, the tool may no longer hold pressure reliably. In such cases, you should consult the manufacturer’s guidelines regarding the safe operating life of your specific model.
Most technicians make the mistake of using too much solvent during the final pass. Excess liquid creates a hydraulic lock that mimics the feel of debris. If the plunger feels spongy rather than gritty, dry the components completely before testing again. A truly clean cylinder produces a faint, metallic “click” when the plunger hits the base. If you hear a dull thud, grease remains.
Troubleshooting common issues
| What happened | Why | What to do |
|---|---|---|
| Handle sticks | Dried grease | Clean with more solvent |
| Threads bind | Grit in threads | Brush threads thoroughly |
| Leaks grease | Worn O-ring | Replace the seal |
| No pressure | Air pocket | Bleed air valve |
| Rod bent | Excessive force | Replace the rod |
When the handle sticks, don’t force it. If solvent fails to loosen the mechanism, the internal spring may have collapsed. A collapsed spring prevents the plunger from resetting, which renders the tool useless regardless of how much you clean it.
If you encounter grit in the threads, use a stiff nylon brush rather than a wire one. Wire brushes often leave microscopic metal shavings behind that accelerate wear.
When replacing an O-ring, always coat the new seal in a thin layer of silicone grease. Dry seals fail within 50 cycles, while lubricated ones typically last for 500 or more.
If you bleed the air valve and pressure remains low, check the check valve for debris. In that case, you must replace the entire valve assembly to restore proper pressure.
Frequency of maintenance
You should deep clean your grease gun based on the frequency of your tool’s use and the conditions of your environment; consult your owner’s manual to determine the appropriate maintenance schedule for your specific model.
Two factors dictate your actual schedule. High-quality synthetic grease resists breakdown longer than mineral-based alternatives, allowing for an extra month between services. Conversely, storing the gun in an unheated, humid garage accelerates internal oxidation. If you notice a thin, watery texture or a metallic smell when you pump, the grease has already degraded.
Most users make the mistake of waiting for the handle to feel stiff before acting. By then, abrasive particles have already scored the internal cylinder walls, causing permanent pressure loss. If the grease output becomes inconsistent, don’t wait for the calendar date.
Perform a cleaning immediately to save the internal components. If the plunger moves smoothly but the output is weak, check the check valve for debris before assuming the pump is worn out. If the plunger resists, prioritize a full teardown.
Frequently asked questions
How long does a grease gun last?
A grease gun can last for a long time when you follow the manufacturer’s cleaning and storage guidelines. The metal cylinder and head assembly are durable, but the internal rubber seals typically require replacement periodically. You can check the condition of your seals by looking for minor leaks around the plunger rod during every use.
Is it safe to use gasoline as a solvent?
It isn’t safe to use gasoline as a solvent because it’s highly flammable and can damage the rubber O-rings inside the gun. You should use a dedicated parts cleaner or a non-petroleum-based degreaser that’s compatible with rubber seals. Always check the label on your cleaner to ensure it doesn’t contain harsh chemicals that break down synthetic lubricants or seals.
What happens if I leave old grease inside?
Old grease inside the tool causes the plunger to stick and creates blockages that prevent the gun from pumping properly. Over time, the chemical additives in the grease break down and turn into a sticky, abrasive paste that damages the inner walls of the cylinder. This leads to internal pressure loss and makes it much harder for you to lubricate your equipment.
Why is my grease gun leaking?
A leaking grease gun happens because the rubber O-rings or the head gasket have become brittle or torn. You should inspect these seals for cracks whenever you clean the tool or change a cartridge. If you find a damaged seal, you must replace it with an identical part from the manufacturer to ensure the pressure remains within safe limits.
Does it matter which grease I use?
It matters greatly which grease you use because mixing different types of thickeners can cause the lubricant to separate or harden inside the gun. You should always use the type of grease recommended in your equipment’s manual to avoid compatibility issues. If you decide to switch brands, you must perform a thorough cleaning to ensure no old grease remains to react with the new product.
How do I know if I over-tightened the head?
You know you have over-tightened the head if the threads feel locked or if the O-ring appears flattened and deformed after you remove it. You should only tighten the head until it’s hand-tight and the seal is firm against the cylinder. Forcing it further with a wrench can strip the threads and permanently ruin the head assembly of your tool.
Conclusion
Proper maintenance ensures your tool works correctly for years. Always keep your workspace clean and follow the specific steps for your model. If you ever feel uncertain about the internal condition of your tool, consult the official manual or contact the manufacturer directly for advice.